Buttercream vs. Fondant: Which to Learn First
They're the two big decorating tracks, and beginners always ask the same thing: where do I start? Here's how they really differ — and the smart order to learn them in.
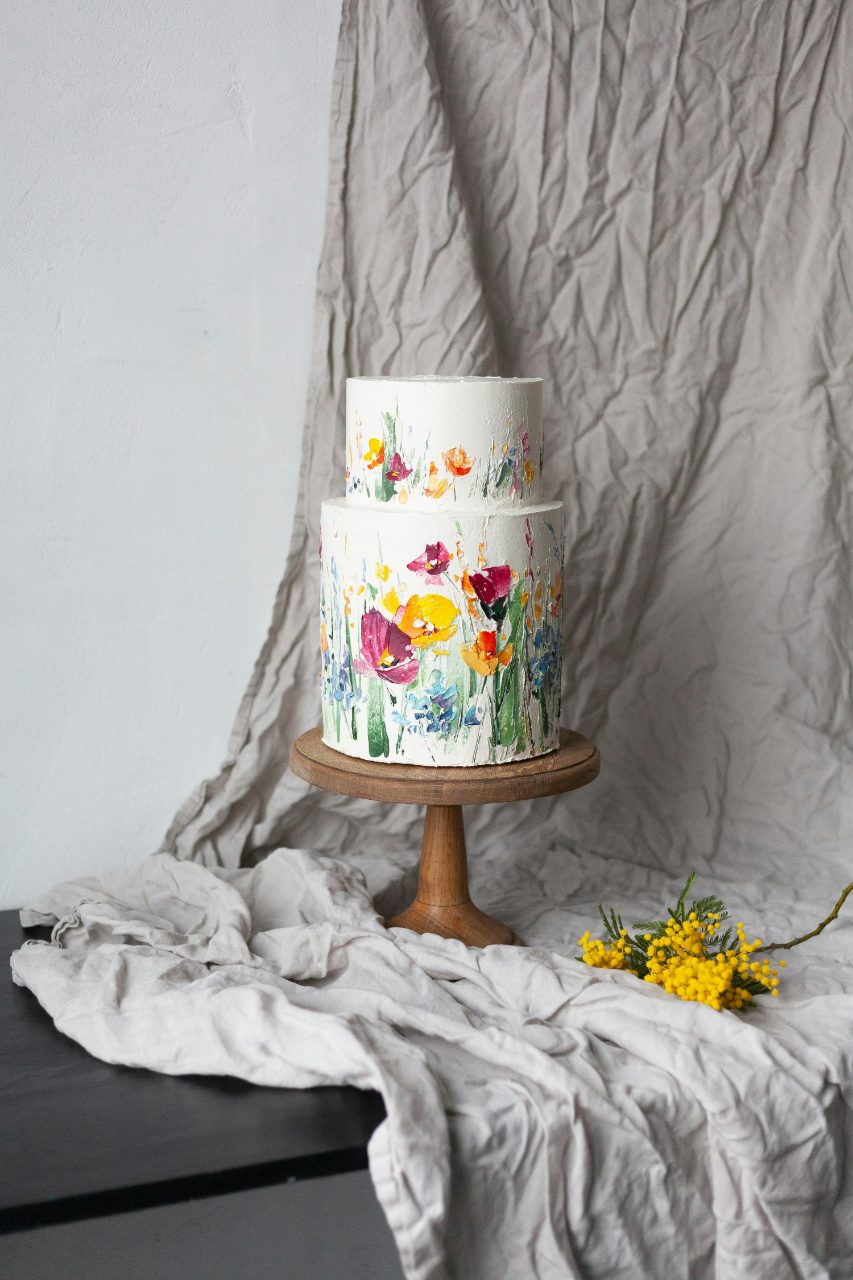
Almost every cake you've ever admired was finished in one of two ways: a swoop of soft buttercream, or a smooth, sculpted sheet of fondant. They look different, taste different, and teach you different skills. If you're just starting out, you don't have to master both at once — but knowing how they compare will save you a lot of wasted sugar.
The quick comparison
Buttercream
- Tastes rich and creamy — most people's favorite to eat
- Soft, textured finishes: swirls, rosettes, rustic swoops
- Cheap, quick, made from pantry staples
- Forgiving — mistakes smooth right over
- Softens in heat; sharp edges take practice
Fondant
- Flawless, smooth, almost porcelain surface
- Sculpting, modeling, crisp edges and clean color
- Holds up in heat and travels well
- Divisive flavor — many peel it off
- Less forgiving; shows every lump underneath
So which should you learn first?
Learn buttercream first — every time. It teaches the fundamentals that everything else builds on: leveling, filling, crumb coats, and a smooth base coat. It's cheap enough to practice constantly, and forgiving enough that you'll actually enjoy the learning curve.
Fondant sits on top of those same fundamentals — you still need a well-built, crumb-coated cake underneath, or the fondant will show every flaw. Master the base with buttercream, then add fondant when you want sculpted, ultra-smooth, or themed designs.
A simple practice plan
Weeks 1–2 · Master the crumb coat
Bake, level, fill, and crumb-coat a cake. Do it until your base coat is smooth and your edges are clean. This is the single most important skill — don't rush past it.
Weeks 3–4 · Piping fundamentals
Practice borders, rosettes, shells, and writing with buttercream. Fill a piping bag, work on pressure control, and pipe onto parchment before you commit to a cake.
Weeks 5–6 · Smooth finishes & color
Work toward sharp buttercream edges with a bench scraper, then practice tinting and color matching. This is where cakes start to look professional.
Weeks 7+ · Introduce fondant
Now cover a buttercream-coated cake in rolled fondant. Practice smoothing out air bubbles, then move on to simple modeling — bows, flowers, cut-outs.
When to reach for each
- Buttercream: birthdays, everyday cakes, rustic and floral styles, anything where flavor leads
- Fondant: wedding tiers, sculpted or themed cakes, crisp geometric designs, hot-weather events
- Both together: a buttercream cake with small fondant accents is the best of both — and the most common pro approach
Pick a cake and start with the crumb coat.
The fastest way to learn either skill is on a real cake. Bake one of our tested recipes and practice your base coat tonight.
Browse our tested recipes →Technique timelines are a general guide — everyone progresses at their own pace. The only real rule is to practice consistently on real cakes.